Tasmota PID regulation integrated with HomeAssistant

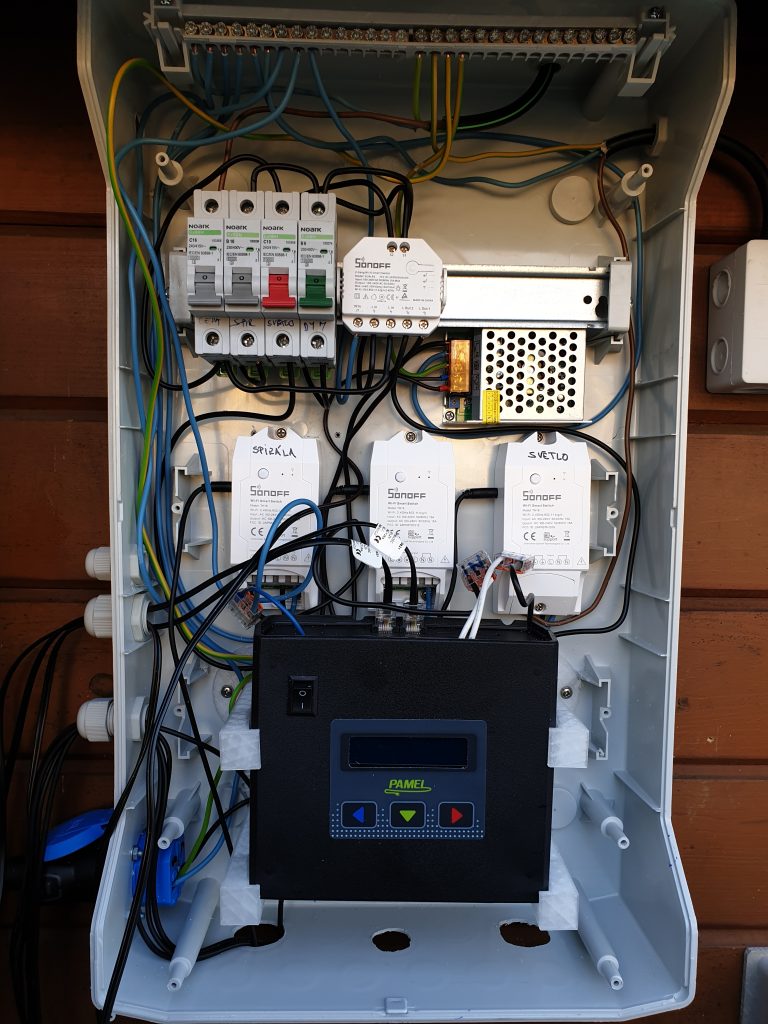
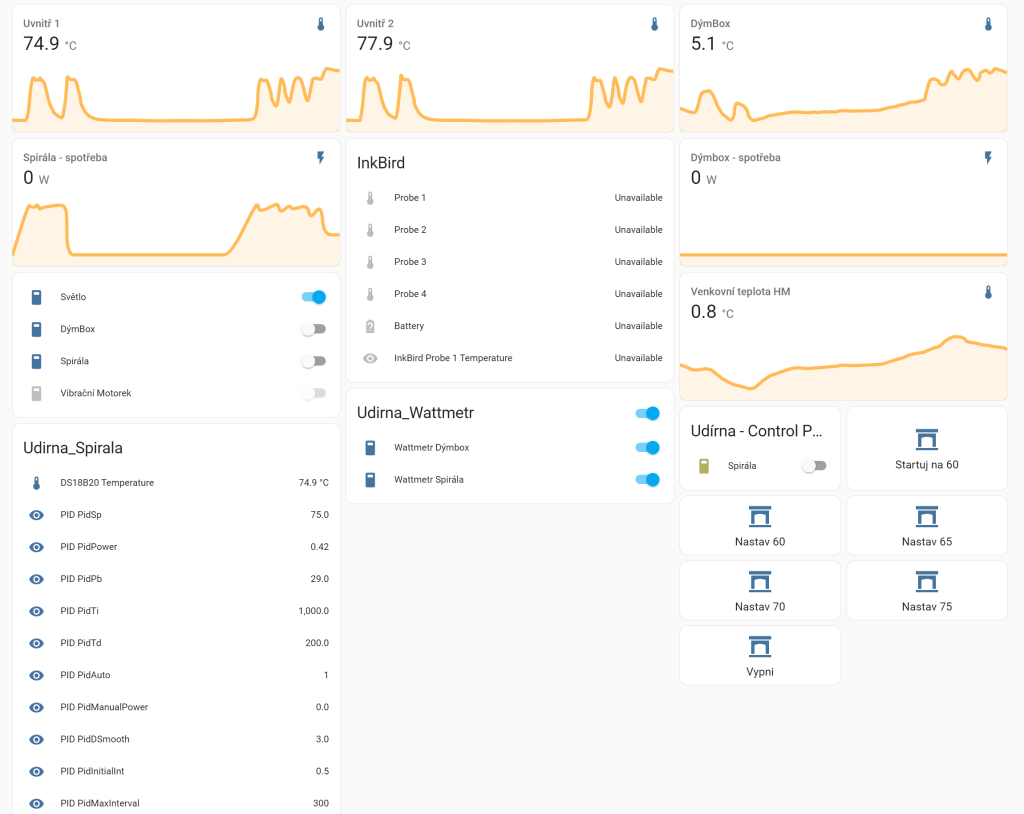
I was looking for solution for remote temperature control for electrical smokehouse integrated into HomeAssistant. Ideally with PID control. The solution is Tasmota installed on Sonoff TH 16. The PID Control is already part of the Tasmota development. All parameters of PID control can be changed changed online using commands via MQTT. The guide is following: https://tasmota.github.io/docs/PID-Control/

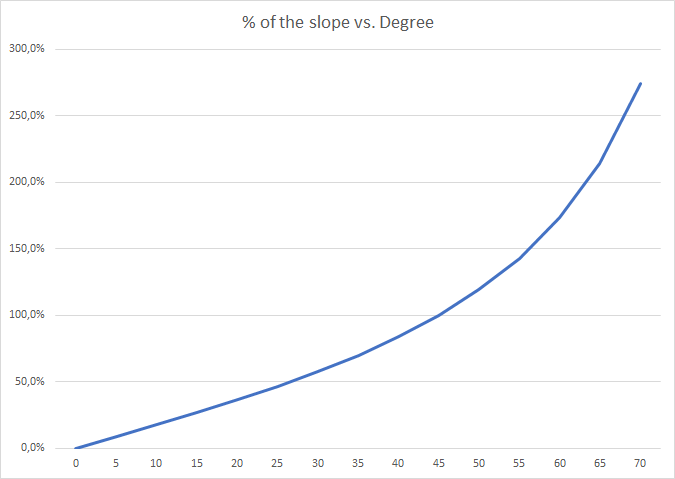
Tuning of PID control is nicely described here. http://blog.clanlaw.org.uk/2018/01/09/PID-tuning-with-node-red-contrib-pid.html

What I have learned:

  • Visual studio basic operations
    • Modifying Tasmota firmware
      • Editing of user_config_override.h
      • Before OTA update of Tasmota firmware is necessary install Tasmota-Minimal firmware, because of limited space on the Sonoff TH 16
Integrated into Homeassistant HA

Tuning of PID

The control of the the smokehouse. It is overkill, the Pamel regulator is not used in the end and the Sonoff TH 16 is used. The picture does not show the rewired version avoiding PAMEL.

Linksys WRT3200ACM – NORDVPN installation

In case you need to increase security of your connection or more likely to use services like NETFLIX which has restriction for your country, then VPN is the right tool.

What you need:

  1. Account on NordVPN with subscription activated
  2. Router capable running of OpenWRT and OpenVPN
  3. Very basic knowledge of WinSCP and Putty

Guides to be used:

https://openwrt.ebilan.co.uk/viewtopic.php?f=7&t=279 In the link to DropBox you will find extensive PDF

https://openwrt.org/docs/guide-user/services/vpn/openvpn/client-luci Official guideline.

https://forum.openwrt.org/t/open-vpn-and-nordvpn/12303/35 Forum used.

Please note that in OpenWRT version 18.06.04 and luci-app-openvpn 19.263.64918-825 on this LinkSys router is not available option for upload of VPN config file. So WinSCP and detailed guidelines has to be used.

Lesson learned. The guides are quite detailled and is necessary to follow them in detail. My biggest mistake was the fact that the separate file used for login data for VPN was using “login” and “password” words in addition to login information…

Router ASUS RT AC58U as wireless bridge

My router went to silicon heaven and I needed to replace it.

I needed to connect two rooms in order to share network printer, NAS, and other devices.  I have chosen router   ASUS RT AC58U and bought two of them. By surprise these routers do not support wireless bridge mode.

Wireless bridge scheme

After some searching there is ingenious open source project for routers firmware. LEDE Project  This software completely replace the firmware and open all imaginable features. The firmware requires some knowledge of the networking and if you are not familiar with words like bridge, firewall then the beginning could be difficult.

Firmware and installation: Firmware

Link to youtube video: LEDE BRIDGE

Link to the LEDE forum: LEDE Forum

During experimenting is useful to know how to do factory reset.

  1. The router can also be reset by locating the reset button located on the router. This is located on the back or the bottom of the router.
  2. Press and hold the reset button on the router until the power light on the router begins to flash, and then release the button.
  3. The router should reset the settings and restart. The next time the router is accessed, the initial setup screen will appear.

Useful could be SW: recvudp